In the world of miniature painting your brushes are not just tools; they're the magic wands that turn your imagination and creativity into reality!
Whether you've invested in high-end Kolinsky Sable brushes or went with more budget-friendly options, adopting a routine for brush maintenance can dramatically extend their lifespan and get the most value out of them.
In this blog we will do a dive deep into brush maintenance, offering tips and tricks to extend the life of your precious brushes. We cover every step you need to ensure your brushes remain in great condition. We emphasize the importance of proper storage, the do's and don'ts, and even how to resurrect brushes you thought were lost. Spoiler alert, no brush is ever truly lost.
Whether you're a seasoned veteran or just starting your journey in miniature painting, understanding how to care for your brushes is key to enjoying this hobby to its fullest. So, grab your brush, and let's embark on this journey together!
Brush Usage and Storage
The longevity of your brushes is not solely dependent on how well you clean and store them, but also on how you use them during your painting sessions.
To help you preserve your brushes and maintain their performance over countless painting sessions, we've created a list of tips and tricks. This list focuses on practical tips for minimizing wear and tear, from the way you load paint onto the brush to the techniques you employ to apply it.
Embracing these practices will not only extend the lifespan of your brushes but also refine your painting technique.
Tips and Tricks to prevent Damaging your Brushes
1. Use a brush for its intended purpose
Each brush has its own purpose. So use your brushes for their intended purpose. Some might say it is common sense but it's important to mention. Let me give a couple of examples.
Big round brushes are great to apply the initial base colors on a miniature, so don't use your detail brushes for that work. It will obviously take you a lot longer to cover the entire miniature and will also wear your detail brushes down faster.
Wash brushes have a thicker body and are made to hold a lot of paint. Using these brushes for layering is going to eat your paint and they're too thick to get in between small details. At the same time you don't want to use detail brushes for washes because the thin wash paint will easily creep into the ferrule, more on that later.
Drybrushes are for drybrushing, crazy right? Use either drybrushes or old worn-out brushes for drybrushing, using any other brush is going to make it end up with split tips and broken.
You get the idea. :)
2. Prevent paint from getting in the ferrule
It's important to prevent paint from getting in the ferrule of your brush because if it dries there it has a couple of negative effects on your brush.
- It causes bristles to splay or spread apart, ruining the brush's fine tip and making it harder to achieve clean, sharp lines or fine details in your work.
- It alters the shape of the brush, affecting its ability to hold paint.
- It makes the bristles of the brush less flexible making it harder to control and predict the movement of the bristles.
- It weakens the glue in the ferrule resulting in the loss of bristles.
Now, there are various ways to prevent paint from getting into the ferrule, let's go over them.
-
Avoid overloading the brush with paint
Only dip the tip of the brush into the paint, not the entire bristle length. As a general rule you would only load the bristle of your brush half way.
-
Store brushes horizontally
Storing your brushes vertically, with the tip upwards, will cause water and leftover paint to creep down into the ferrule.
-
Use a palette while painting
By using a palette while you're painting you have more control over how much paint you're loading into your brush. We've probably all done a blind dip into a pot of paint with the result of a fully loaded brush.
-
Clean your brushes regularly
Cleaning your brushes is important after you're done painting but it is also a good practice to clean your brushes during your painting sessions. Just a quick swirl in some water will do in these cases.
-
Don't use thin paints with your expensive Brushes
Thin paints like Washes / Speedpaint / Xpress Color paints are almost like water and will creep into the ferrule in an instant so it's recommended not to use your best brushes when using these kind of paints.

3. Don't let paint dry on your brush
Leaving paint on your brushes and letting it dry on the bristles is one of the most damaging things that can happen to your brush. That's why you should clean your brushes thoroughly after every painting session.
In short, dried paint makes the bristles stiff which reduces control and makes the bristles more prone to breaking.
4. Mind your brush strokes while painting
To reduce wear on your brushes, it's important to avoid or be a bit careful when using certain types of brushstrokes or techniques that can strain or damage the bristles.
-
Mind the pressure you're applying
Applying excessive pressure can bend the bristles beyond their natural flex point, leading to permanent deformation or breakage. Use appropriate pressure to preserve the brush's shape and integrity.
-
Be careful with jabbing or stabbing motions
Avoid using aggressive, jabbing, or stabbing motions, especially with fine-tipped brushes. These actions can cause bristles to splay or break.
-
Be careful while stippling
Stippling is a painting technique where you, as the name suggests, stipple dots with your brush. This can be used to give skin a nice texture or create a transition in color. As this is a form of 'Jabbing' or 'Stabbing' you'll have to be careful not to splay or break bristles or use drybrushes.
-
Don't use your brush to mix paints
Mixing paint directly on the palette with the bristles can quickly wear down a brush. Reserve your fine brushes for painting and use older or other tools for mixing.
-
Use drybrushes for drybrushing
Dry brushing is a technique that puts a lot of stress on the bristles. Reserve this technique for brushes designated as drybrushes and avoid using your fine detail brushes for this purpose.
-
Rotate your brush while painting
Not rotate the brush while painting can lead to uneven wear. Regularly turn the brush in your fingers to distribute wear evenly and maintain its shape.
Cleaning Brushes after Use
So you've painted the first half of your army and you're done for the day. What do you do? Cleaning your brushes, of course! Cleaning your brush thoroughly after each painting session is crucial, but why?
Here’s what happens when paint is allowed to dry on your brushes:
-
Bristle damage: Dried paint can stiffen the bristles of your brush, making them brittle and prone to breaking. This not only affects the brush's ability to hold and distribute paint smoothly but can also lead to a frayed or misshapen brush tip, drastically reducing the precision.
-
Ferrule damage: When paint dries near or inside the ferrule (the metal part that holds the bristles to the handle), it can expand and contract, which may cause the bristles to become loose. Over time, this can lead to bristle loss, a wobbly head or even worse a split tip, making the brush unusable.
-
Residual color mixing: Leftover dried paint in the brush can mix with new colors in future painting sessions, contaminating your color palette. This can lead to muddy colors and pieces of dried paint can end up on your miniature.
-
Reduced paint flow: Dried paint clogs the bristles, impeding the smooth flow of paint from brush to surface. This can result in an uneven paint application, making it difficult to achieve the desired effects in your painting projects.
-
Longevity: The cost of replacing high-quality brushes like Kolinsky Sable brushes can add up quickly. Regular cleaning helps maintain the longevity of your brushes, ensuring that your investment lasts as long as possible.
In short, dried paint compromises the structure and function of your brushes, affecting everything from their lifespan to the quality of their paintwork. By cleaning your brushes after every use, you protect your investment and maintain the high standards necessary for your painting projects.
Step-by-Step Guide to Cleaning your Brushes
Let's go over a few simple steps to clean your brushes.
-
Rinse the paint off
- Begin by gently rinsing your brush in a container of lukewarm water. Avoid using hot water, as it can damage the bristles.
- Swirl the brush in the water and gently stroke the brush against the sides of the water container to release the paint.
-
Apply brush soap
- After the initial rinse, apply a small amount of brush soap to the bristles.
- Gently stroke your wet brush on the soap. Make sure to keep your brush wet to create lather.
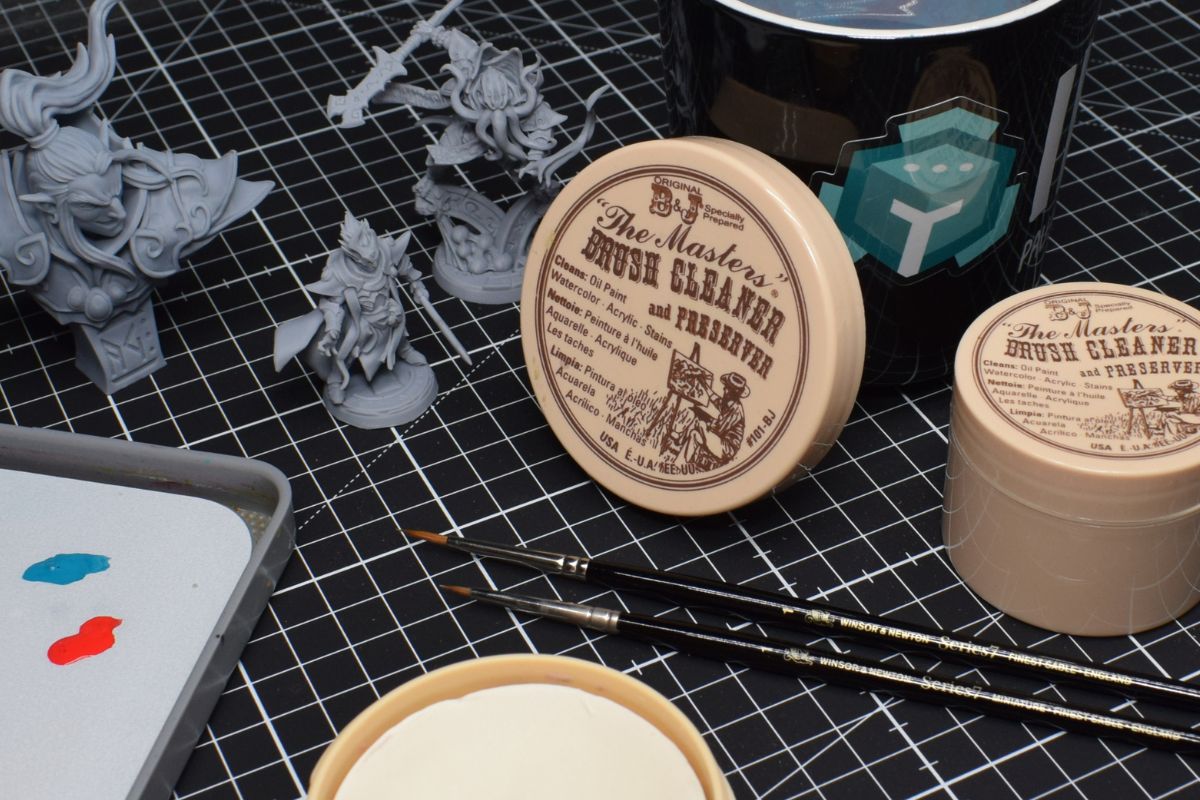
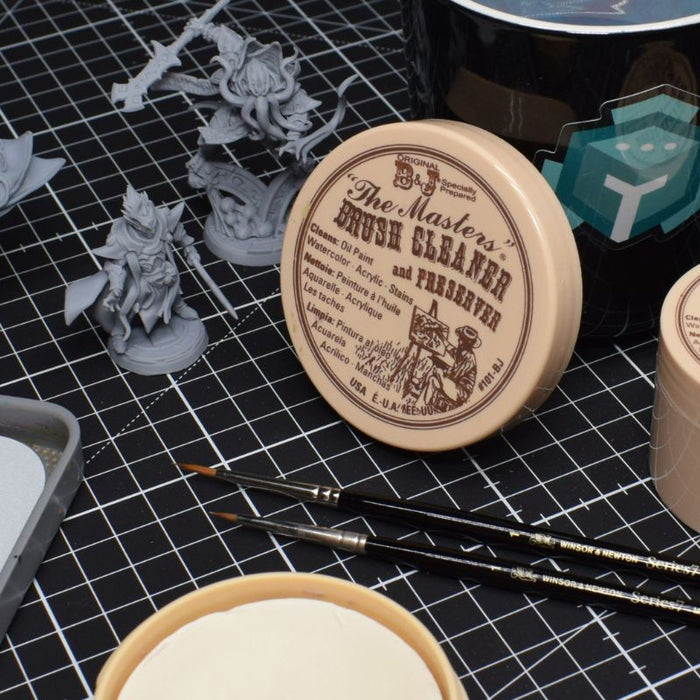
- A brand of brush soap that we use and recommend is The Masters Brush Cleaner and Preserver.
-
Massage the lather into the bristles
- With the soap applied, gently lather the bristles in the palm of your hand or on a brush cleaning pad.
- Use circular motions and avoid pressing too hard to prevent bending or breaking the bristles. Focus on the entire length of the bristles, from the ferrule to the tip.
-
Rinse again
- Rinse the brush in lukewarm water to remove the soap and any remaining paint.
- Be mindful to keep the water from getting into the ferrule as much as possible, as this can loosen the glue over time.
-
Repeat steps until clean
- At this point you'll repeat steps 2, 3, 4 until the lather created by the soap is clear of color.
-
Remove excess water
- Gently squeeze the bristles with your fingers or lightly press them against a soft towel to remove excess water. Be careful not to pull or twist the bristles.
-
Reshape the brush
- Using your fingers, gently reshape the brush head to its original form. This step is crucial for maintaining the brush's shape and ensuring it dries correctly for your next painting session.
-
Let it dry
- Lay the brush flat on a towel or hang it bristle down in a brush holder to dry. Avoid drying brushes with the bristles up, as water can seep into the ferrule and cause damage over time.
By following these steps after each use, you ensure that your brushes remain in excellent condition and ready for your next miniature painting project. Proper cleaning not only extends the life of your brushes but also maintains their performance, helping you achieve those fine details that bring your miniatures to life.
Step-by-Step Guide to Conditioning and Preserving your Brushes
Let's go over a few simple steps to condition and preserve your brushes.
-
Clean your brushes
- Follow the Step-by-Step Guide about Cleaning your Brushes, see above.
-
Apply brush soap
- After cleaning your brushes, apply a small amount of brush soap to the bristles.
- Gently stroke your wet brush on the soap. Make sure to keep your brush wet to create lather.
- At this point, because the brushes were already cleaned, the lather created by the soap should be clear.
- A brand of brush soap that we use and recommend is The Masters Brush Cleaner and Preserver.
-
Massage the lather into the bristles
- With the soap applied, gently massage the lather into the bristles.
-
Reshape the brush
- Using your fingers, gently reshape the brush head to its original form. This step is crucial for maintaining the brush's shape and ensuring it dries correctly for your next painting session.
-
Let it dry
- Let it dry with the lather in the bristles.
By following these steps in between painting sessions or during long periods without usage, you ensure that your brushes remain in excellent condition and ready for your next miniature painting project. Conditioning and preserving does not only extend the life of the brushes but it also protects them from damage when you're not using them for longer periods of time.
Reviving Damaged Brushes
Reviving damaged brushes can often be done with some care and the right techniques. Here are steps to help rejuvenate your brushes:
-
Cleaning: Begin by giving your brushes a thorough cleaning. Use a brush soap designed for fine art brushes. Gently work the soap into the bristles, rinse well, and repeat if necessary. This step can remove dried paint and restore some flexibility to the bristles.
-
Removing paint from the ferrule: If there's dried paint in the ferrule causing the bristles to splay, soaking just the ferrule in a specialized brush cleaner or rubbing alcohol for a short period can help loosen and remove this paint. Be careful not to soak the entire brush, as this can damage the handle and the glue holding the bristles.
-
Conditioning and reshaping: After cleaning, applying a brush conditioner can help restore the natural oils to the bristles, improving their elasticity. While the brush is still damp, use your fingers to gently reshape the bristles into their original form. There are specific brush conditioners available, like The Masters Brush Cleaner and Preserver.
-
Straightening bent bristles: If the bristles are bent, soaking them in warm water and then using a brush shaper or your fingers to straighten them out can work. For stubborn cases, you can wrap the bristles in tissue paper while damp to hold them in place as they dry.
-
Restoring the brush tip: For brushes that have lost their point, dipping the tip into boiling water for a few seconds and then reshaping it can sometimes help. Be cautious with this method, as excessive heat can damage the bristles. This should only be tried as a last resort.
-
Repurpose your brush: An unsalvageable brush is definitely not a brush that should be discarded straight away. Instead find a different purpose for the brush. A brush that has lost its tip can still be used as a brush for Washes and a brush that is completely split can still be used for drybrushing, for example.
Not all damaged brushes can be fully restored, especially if the bristles are severely frayed or if there's extensive damage to the ferrule. However, these steps can often breathe new life into brushes that you might have thought were beyond salvage. Remember, even unsalvageable brushes can be useful by changing their purpose.
So that is, I would say, everything you would need to know about taking care of your brushes. Hopefully the information was of value to you. Happy painting!


Leave a comment