Painting miniatures can be a time-consuming and slow process, especially for those who are new to the hobby. The process of base coating, shading, and highlighting each miniature can take hours, if not days. This can be discouraging for those who want to get their miniatures table-ready as quickly as possible.
On the other hand, having unpainted or plain grey miniatures on your tabletop can detract from the overall experience and immersion.
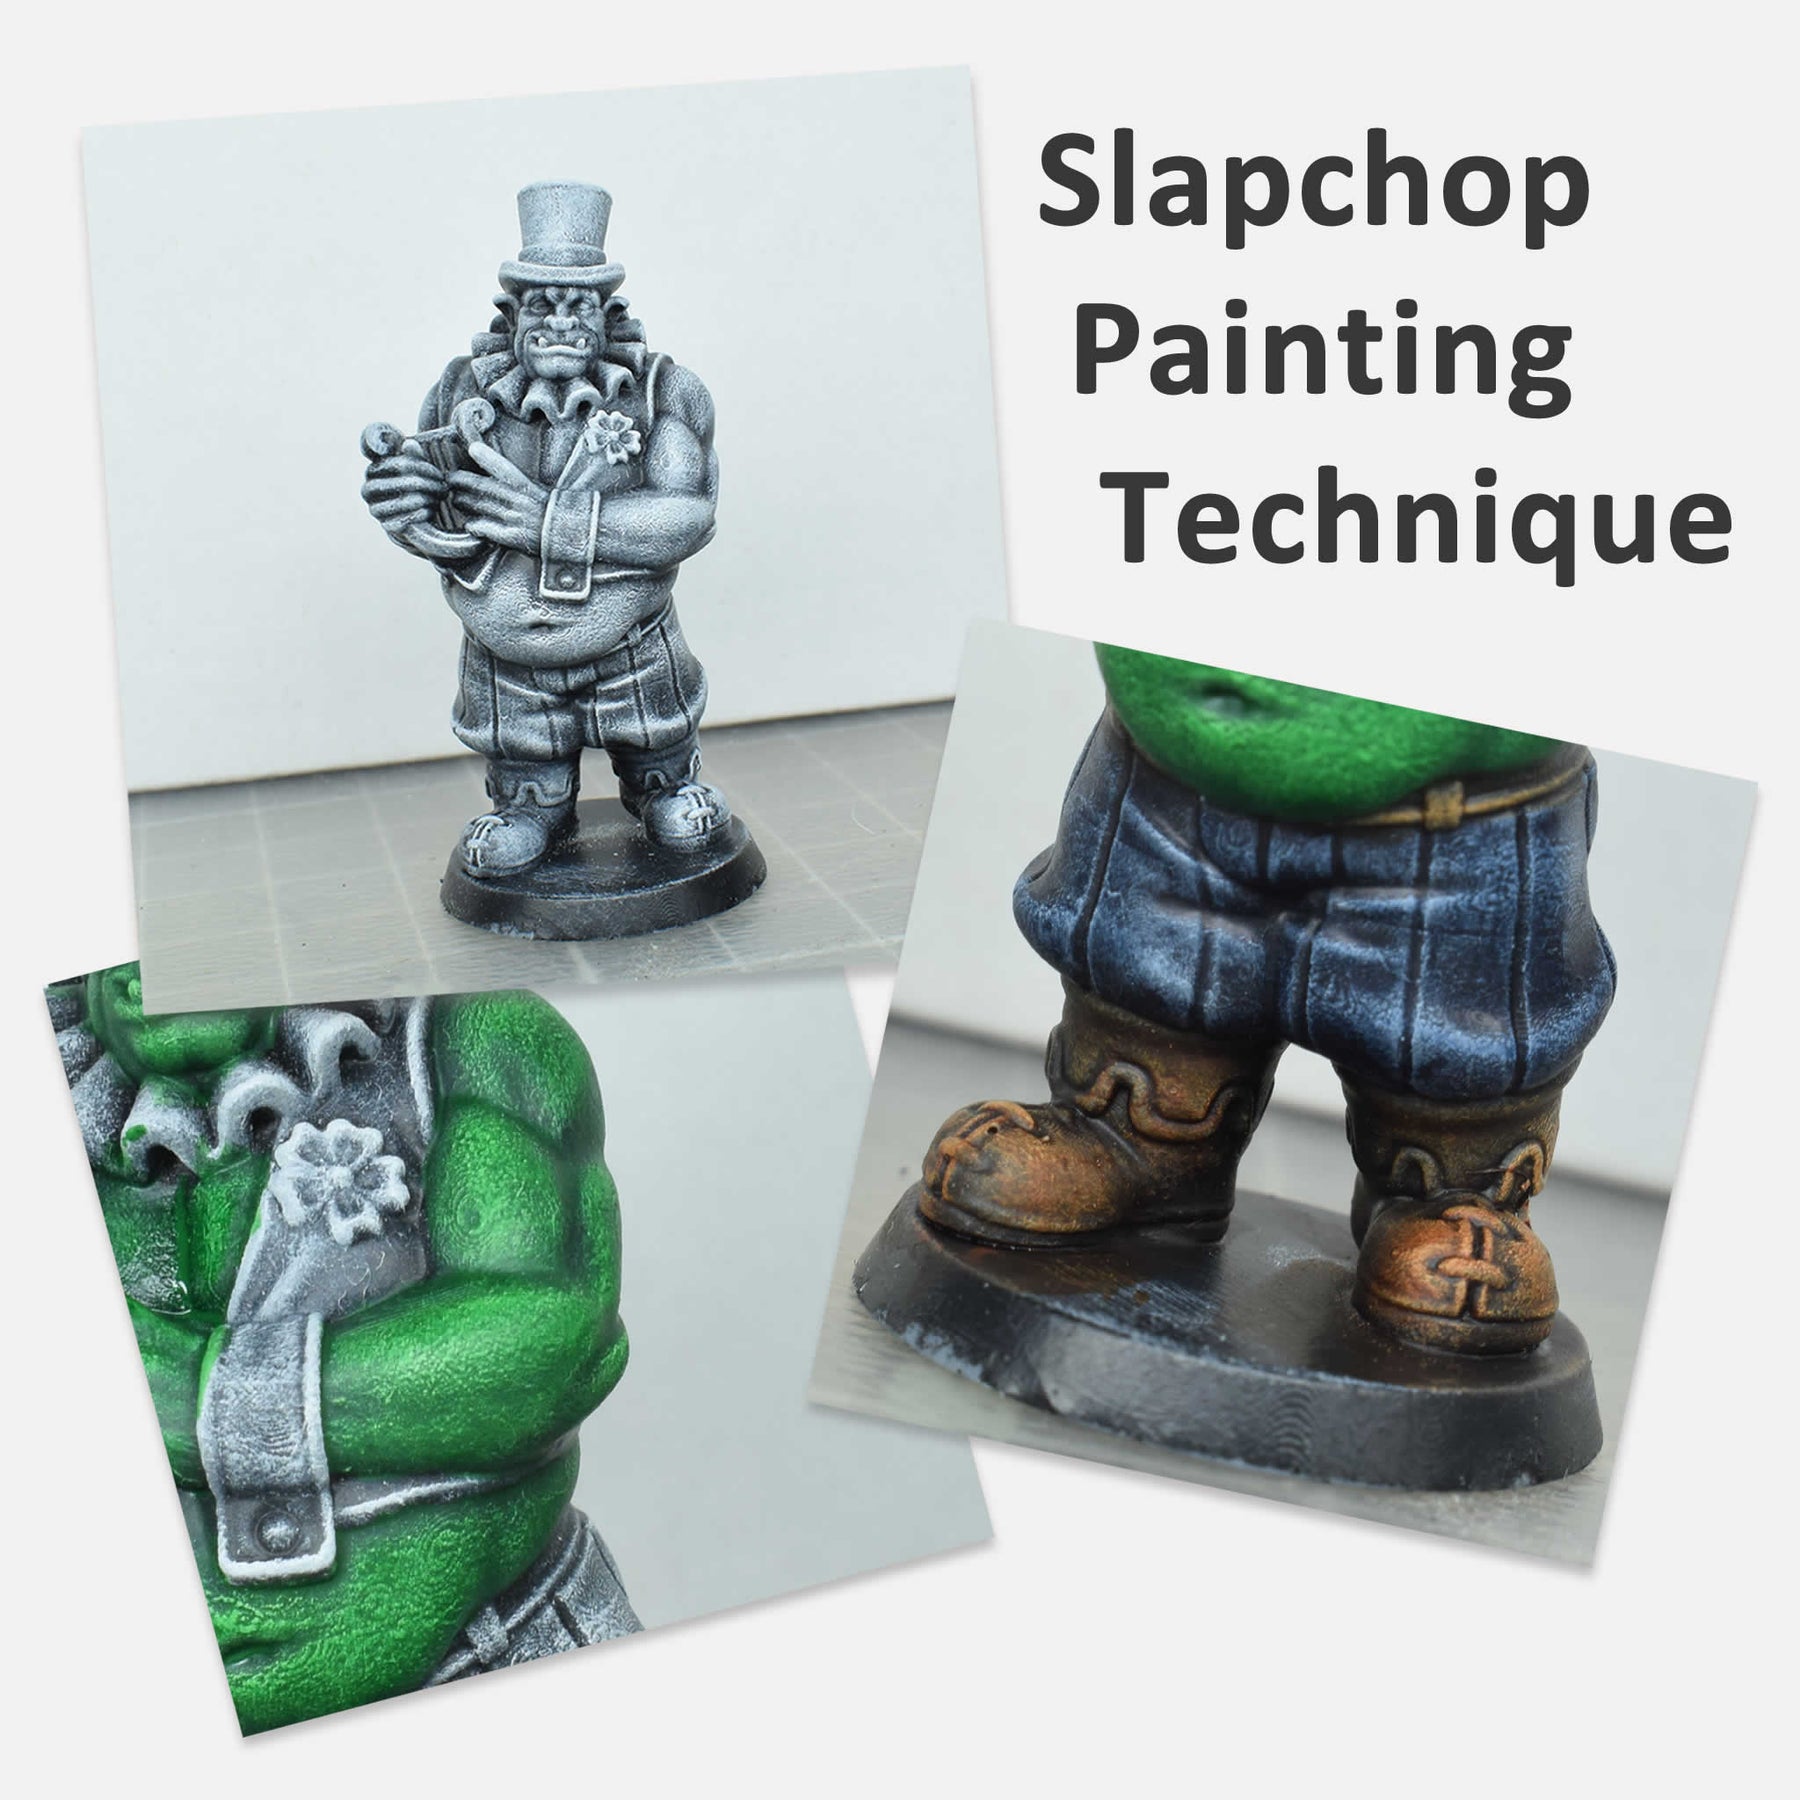
That's where the Slapchop painting technique comes in. Using this technique you can achieve a base coat, shade, and highlight all in one go. This technique is designed to be fast and efficient, allowing you to get your miniatures ready for the tabletop in a fraction of the time it would take using traditional painting methods.
Of course, it's important to note that this technique may not be suitable for every miniature, and some may require more advanced techniques to achieve the desired results. However, for those looking to quickly and effectively paint their miniatures without sacrificing quality, the Slapchop painting technique is a great option to consider.
Products needed to execute the Slapchop painting technique
To execute the Slapchop painting technique, you'll need the following products:
-
Miniature: you will need a miniature to paint, obviously.
-
Black Primer: this will serve as the base coat for the miniature.
-
Grey Paint: you will drybrush the miniature with a grey color to create highlights and texture.
-
White Paint: you will drybrush the miniature with a white color to further enhance the highlights and create more depth.
-
Contrast, Xpress or Speedpaints: these paints will be used to add color to the miniature quickly and easily.
-
Brushes: you will need a variety of brushes; a brush for the base coat, a drybrush for the grey and white paints, and a brush of choice for applying the Contrast, Xpress or Speedpaints.
-
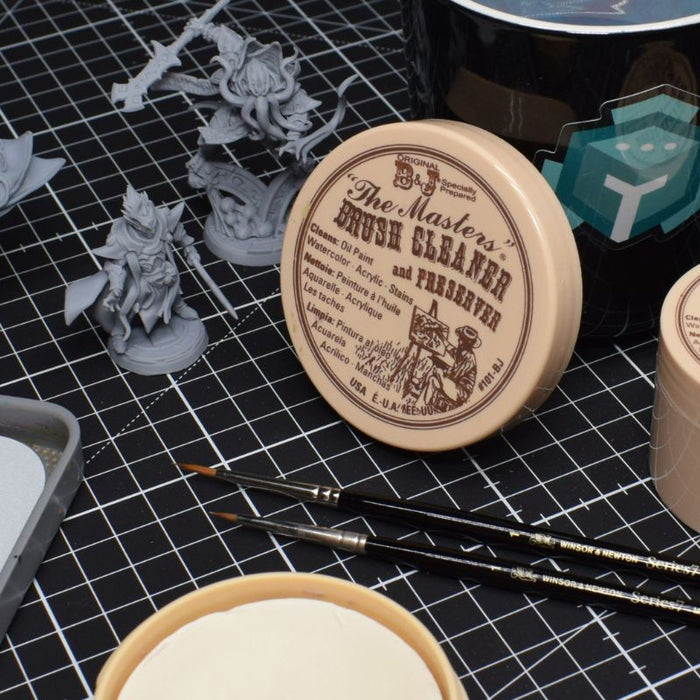
Palette, Water and Paper towels: the usual items when painting miniatures.
For this step-by-step guide we have used the Izag the Ogre Lyrist miniature by Vae Victis Miniatures.
Are you missing any of these? Empire of Minis offers a wide range of painting products that can help you.
Step-by-step guide to the Slapchop painting technique
Here's a step-by-step guide to the Slapchop painting technique:
Step 1: Apply a Base Coat of Black Primer
Using a large brush, apply a base coat of black primer to your miniature. This will serve as the base coat for the miniature.
Step 2: Drybrush with Grey Paint
Using the drybrush technique, apply grey paint to the miniature. Focus on the raised areas and edges, where the light would hit the miniature. You do not want to cover the black color entirely!
The drybrush technique involves dipping your brush into the paint, wiping most of it off on a paper towel or cardboard, and then lightly brushing the miniature.
Step 3: Drybrush with White Paint
Apply a second drybrush layer using white paint. Focus on the highest points and edges of the miniature. You do not want to cover the grey color entirely! This layer will further enhance the highlights and create more depth.
Step 4: Apply Contrast, Xpress or Speedpaints
Apply the Contrast, Xpress or Speedpaints to the miniature, starting with the largest areas and working your way up to the smaller details.
These paints are designed to be applied quickly and easily, no need to thin them down, making them perfect for the Slapchop technique. Just make sure it does not pool in the wrong places, you want shadows to be where there are actual shadows.
Step 5: Clean the base and apply a new layer of black.
Everyone splashes their base while painting so we'll clean that up so that it looks smooth all around.
Step 6: Clean your brushes and allow the miniature to dry
Clean your brushes and use a paper towel to wipe away excess paint. Allow the miniature to dry completely before applying a varnish to protect your hard work.
That is basically it! Your miniature now has color, with various levels op highlights and shadows. You can enhance this further using more layers of regular paint but the current state should be enough to make them look good on your table. Happy painting!


Leave a comment