Owlbears are exactly what they sound like, a terrifying mashup of a bear and an owl!
With the bulky, muscular body of a bear and the sharp beak, feathers, and keen eyesight of an owl, these creatures are both fierce and majestic. Known for their aggressive nature and bone-chilling screeches, owlbears are a nightmare for unlucky adventurers who stumble into their territory.
So, let's paint a classic Owlbear!
Owlbears come in all sorts of colors depending on their environment! Snowy Owlbears have thick white fur and pale feathers, perfect for icy tundra's. Shadow Owlbears are darker, with black or deep gray feathers, lurking in caves and swamps. Some even have reddish fur and golden feathers, resembling giant predator birds like eagles.
However, the classic Owlbear is usually depicted with a mix of brown fur and tawny feathers, blending the look of a grizzly bear and a great horned owl. This natural coloration helps it blend into dense forests where it hunts for prey.
What do I need to follow this painting guide?
We're going to use a specific set of colors from the Warpaints Fanatic range by The Army Painter. This entire set, including a Owlbear miniature, is available in our webshop. Go to the Owlbear Painting Bundle.
Of course you can follow this guide with any paints of your choice in similar colors.
You need the following products:
-
Owlbear Miniature: you will need a miniature to paint, obviously.
-
Black Primer: this will serve as the base coat for the miniature.
-
Brushes: you will need a variety of brushes for the primer and basecoat, wash and layering / detailing.
-
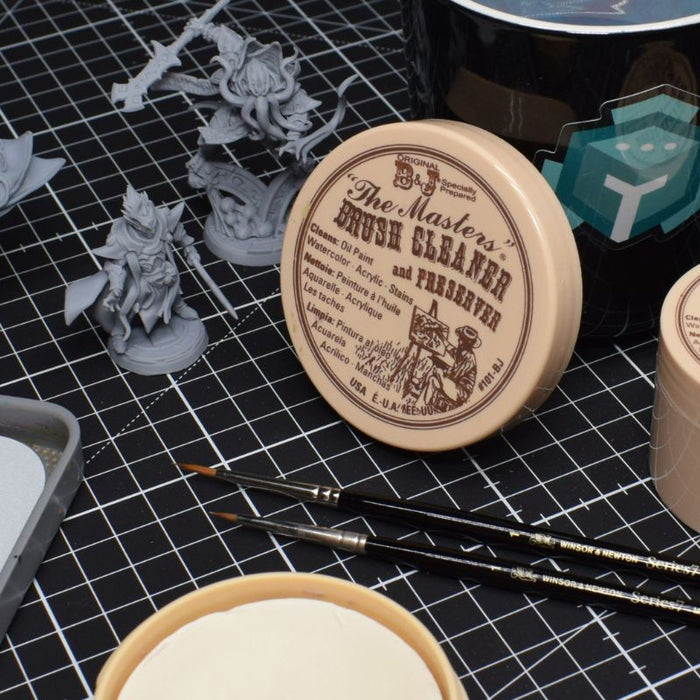
Palette, Water and Paper towels: the usual items when painting miniatures.
For the paints we will be using:
-
Black - Warpaints Fanatic: Matt Black
-
Dark Brown - Warpaints Fanatic: Bootstrap Brown
-
Light Brown - Warpaints Fanatic: Leather Brown
-
Ocher Yellow - Warpaints Fanatic: Desert Yellow
-
Dark Beige - Warpaints Fanatic: Tomb King Tan
-
Light Beige - Warpaints Fanatic: Bony Spikes
-
Flesh Tone - Warpaints Fanatic: Topaz Skin
-
Brown Wash - Warpaints Fanatic: Soft Tone (Wash)
The basics of painting miniatures
Before we start, let's go over the basics of painting miniatures.
Painting is about having fun. So make sure you're comfortable. Don't stress about making mistakes, they're happy little accidents and can be fixed, as Bob Ross would say.
Try new things. Do you want to paint your Owlbear pink? Do you want to try wet blending or dry brushing instead of layering? Go ahead. This is your time to experiment.
Don't get discouraged. Painting a miniature can be really hard. Getting the paint in the places that you want them is a challenge. Don't compare your work with others that might have been painting for years. You'll get there by practicing.
Thin your paints! Don't use the paint straight out of the bottle. Dip your brush in water, dab the brush on a bit of a tissue to remove SOME of the water, then load the brush with paint. Apply the paint in two thin coats, as Duncan Rhodes would say.
Don't load the entire brush with paint. Only load about 2/3 of the brush with paint. Loading the entire brush with paint can cause the paint to get stuck in the ferrule, which over time will destroy your brush.
Use the correct size brush for the job. Small brushes are for details. Large brushes are for base colors or primer. Don't waste your time by using the small brush to cover the entire miniature with primer.
Clean your brushes. During your painting session it's important to swirl the brush into a cup of water every once in a while to keep it nice and fresh. When you're done painting be sure to properly clean your brush. That way you will get the most out of your brushes. See our Brush Care Guide.
Step-by-step guide to get your Owlbear painted
All the necessities are on the table. Make sure you have your hobby space prepared. Clean water to wash your brushes and to thin your paints.
Ready, set, go!
Step 1: Cover the entire Owlbear with black primer.
Don't apply the primer too thick, otherwise it might start clogging the details on the miniature. The primer will serve as the coat for all the layers of paint to adhere to.
Step 2: Cover the entire Owlbear with Bootstrap Brown.
Step 3: Paint the Owlbear features in their base colors.
Let's give the unique features of the Owlbear a couple of base colors.
- Apply Tomb King Tan to the claws of the Owlbear.
- Apply Tomb King Tan to the the facial features of the Owlbear.
You can freestyle a bit here, we left a bit of brown in the face to add some character. You could also choose to cover more of the belly, we didn't for this guide. It's your mini so do whatever you like to do.
- Apply Tomb King Tan to the leg feathers of the Owlbear.
We didn't want to keep the entire Owlbear brown so to give it a some unique features we decided to give the leg feathers a different color than the rest of the Owlbear.
- Apply Topaz Skin to the tongue of the Owlbear.
- Apply Desert Yellow to the beak of the Owlbear.
- Apply Desert Yellow to the eyes of the Owlbear.
At this point the entire Owlbear is covered in the base colors. From here on we'll start adding shadows and highlights.
Step 4: Cover the entire Owlbear in a Soft Tone wash.
Apply the Soft Tone wash to the entire Owlbear. Make sure that you cover the entire miniature, so don't forget its belly!
Carefully move the wash where you want it to be, that being the crevasses, folds and areas that should be in shadow. Did you overdo an area? Dry your brush and place the brush on the area that has too much wash to soak it up.
It is important to make sure that you pop any bubbles that the wash might form. If you don't you'll see these bubbles in the end result.
Now it is important to let the wash dry completely before continuing. This can take a while, don't be impatient because that will affect the end result.
Step 5: Reintroduce some of the base colors on the Owlbear.
The wash has toned down all of the base colors. Now we want to bring some of that base color back, so that only the areas that are in shadow are affected.
It's important not to cover the entire model in these steps, you only want to put a layer of paint in the areas that the light touches. So leave the shadows in the crevasses, folds, etc.
- Apply a thinned down Bootstrap Brown to the fur of the Owlbear.
- Apply a thinned down Tomb King Tan to the fur, feathers and claw of the Owlbear.
- Apply a thinned down Desert Yellow to the beak of the Owlbear.
- Apply a thinned down Topaz Skin to the tongue of the Owlbear.
Now that we have reintroduced a bit of the base colors we can start putting highlights in place.
Step 6: Add highlights on the Owlbear.
For highlighting it is important that you only paint the areas that the light would touch. This area should become smaller with each layer to create a smooth transition between the different layers and colors.
- Apply a thinned down Leather Brown to the fur of the Owlbear.
- Apply a thinned down Bony Spikes to the fur, feathers and claws of the Owlbear.
- Apply a thinned down Topaz Skin to the tongue of the Owlbear.
Before we highlight the beak of the Owlbear, we'll have to make a mix of Desert Yellow and Bony Spikes. Really simple. One drop of each color and a wet brush, work the paint together and Ta-da!
Mixing paints is an important tool in the painters toolbox. You don't need a bottle of every color when you can mix paints to get a similar color. Experiment with this!
- Apply a thinned down mix of Desert Yellow and Bony Spikes to the beak of the Owlbear.
Done! With the highlights at least. Let's continue with some detailing to give the Owlbear a bit more character.
Step 7: Paint the eyes of the Owlbear.
Yes, this is one of the most difficult steps. If they eyes are not correct it can make the entire miniature look bad. So take your time, don't rush it. Do you not like the result, then paint the eyes with Desert Yellow and try again.
- Highlight the eyes with a mix of Desert Yellow and Bony Spikes.
- Paint a circle in the eyes with Leather Brown to create the irises.
- Add a dot in the middel of the irises with Matt Black to create the pupils.
As a bonus step, you can add a small dot of Bony Spikes on the iris to imitate the reflection of light on a wet eye.
Do you want to take it to the next level? Then you can add gloss varnish to the eyes to really sell the idea of the eyes being wet.
Step 8: Give the fur and feathers a bit more characters.
We were not satisfied with the basic look of the Owlbear at this point. So we decided to give the mane and feathers a bit more character.
- Apply a thinned down Matt Black to the tips of the fur in the mane, ears and feathers of the Owlbear.
And with that we have finished our classic Owlbear! Amazing! We'll proudly put that on the table to scare the party in our next session of Dungeons and Dragons.
Your imagination is the limit. Go wild! Try new things!
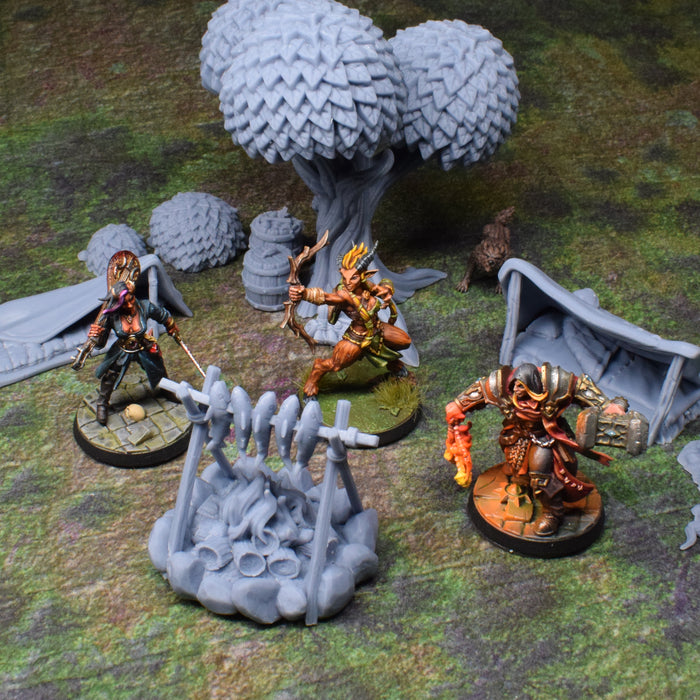
To finish up our Owlbear we decided to cover the base with Kodama Woods basecover by Krautcover Scenics and add various grass tufts from the Green Meadow Tuft Set by Gamersgrass.
All the products used in this guide, and the basing materials used for our Owlbear, are available in our webshop. Don't forget to take a peek! ;)


Leave a comment